Raspberry Layer Cake

Amit Sharma
| 30-04-2026
Let’s step into a simple and comforting baking moment together. We are preparing a soft layered sponge cake filled with fruity preserve, light whipped cream, and fresh berries.
This cake has a gentle sweetness, a fluffy texture, and a homemade charm that feels perfect for sharing at any time of the day. We will move through each step carefully, with clear measurements and easy instructions, so everything feels smooth and easy to follow from start to finish.
Ingredients We Need
For the sponge cake:
- 200 g unsalted butter (softened at room temperature)
- 200 g fine sugar
- 200 g self-raising flour (or cake flour + baking powder)
- 1 tsp baking powder
- 4 medium eggs (room temperature)
- 1 tsp vanilla paste or vanilla extract
For the filling:
- 150 ml whipping cream (cold)
- 1–2 tsp vanilla paste (optional, for cream flavor)
- 4 tbsp raspberry preserve or jam
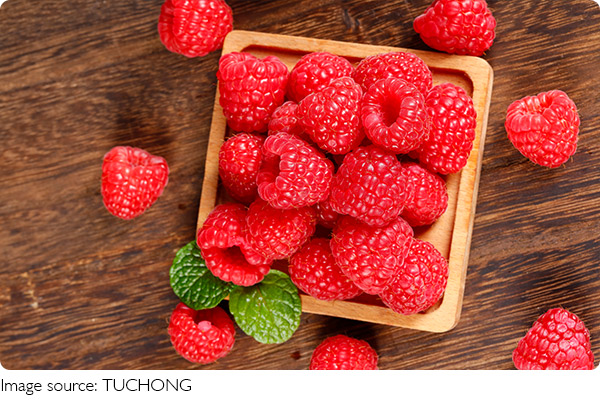
- 100 g fresh raspberries
Step 1: Preparing the Baking Setup
1. We start by preheating the oven to 180°C (350°F).
2. Next, we prepare two 8-inch (20 cm) round baking tins.
3. We line the bottom of each tin with parchment paper. This helps the cake release easily after baking and keeps the shape neat.
Step 2: Making the Cake Batter
1. In a large bowl, we place the softened butter.
2. We beat the butter until it becomes smooth and creamy.
3. We add sugar and continue mixing until the mixture looks pale and fluffy. This step helps create a light sponge texture.
4. We add eggs one at a time. After each egg, we mix well so the batter stays smooth and stable.
5. We stir in vanilla paste for a gentle aroma.
Now we move to the dry ingredients:
6. We sift flour and baking powder together into the mixture.
7. Using a spatula, we gently fold everything together. We avoid overmixing to keep the sponge soft and airy.
Step 3: Dividing and Baking
1. We divide the batter evenly between the two prepared tins.
2. We smooth the surface gently so the layers bake evenly.
3. We place them in the oven and bake for about 20–25 minutes.
4. We know the cakes are ready when:
- The top is golden
- A toothpick inserted in the center comes out clean
5. After baking, we remove them and let them cool completely on a rack. This prevents melting during assembly.
Step 4: Preparing the Cream Filling
1. We pour cold whipping cream into a chilled bowl.
2. We whisk it until soft peaks form. The cream should hold its shape but still look smooth.
3. If we like a slightly sweeter aroma, we mix in a small amount of vanilla paste.
4. We avoid over-whipping because the texture can become too firm.
Step 5: Assembling the Cake
Now we bring everything together.
1. We place the first sponge layer on a plate.
2. We gently level the top if it has a dome shape.
3. We spread raspberry preserve evenly over the surface, leaving a small border around the edge to prevent overflow.
4. We add a layer of whipped cream over the jam and smooth it out.
5. We place the second sponge layer on top and press lightly so it stays stable.
Step 6: Final Decoration
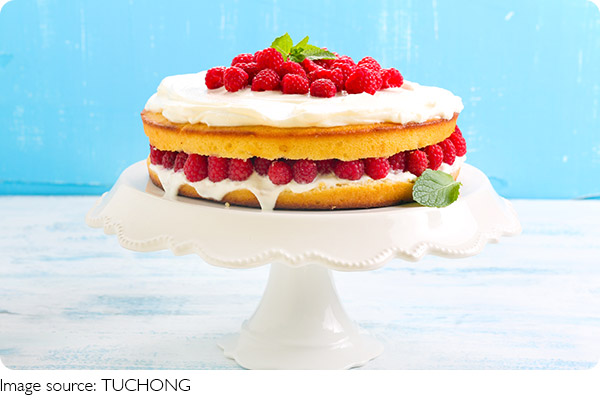
1. We spread the remaining whipped cream over the top layer.
2. We decorate with fresh raspberries, placing them naturally across the surface.
3. We can lightly smooth the sides for a clean finish or keep a rustic style.
At this stage, the cake looks soft, fresh, and inviting.
Storage Tips and Serving Ideas
- We place the finished cake in the refrigerator for at least 1 hour before serving. This helps the layers set and improves slicing.
- We cover it lightly to prevent drying. It is best enjoyed within a short time for the freshest texture.
- If needed, the sponge layers can be baked ahead and stored separately, then assembled later.
And there you have it—a soft, creamy, fruit-filled layered cake made entirely by your own two hands. From the gentle whir of the mixer to the sweet smell of baking sponge and the final pop of fresh raspberries on top, every step has brought us closer to something truly special. This isn't just any dessert; it's a little expression of care, patience, and homemade warmth. Whether you're sharing a slice at afternoon tea, celebrating a birthday, or simply treating yourself on a quiet weekend, this cake delivers comfort in every bite. So go ahead—pour yourself a cup of tea, cut that first slice, and enjoy the fruits of your labor. Happy baking, and even happier eating!